
Wickr Pro’s end-to-end encrypted communication platform offers features like voice and video calls, screen sharing, file transfer, SSO and MDM integration, bots, full administrative controls and a whole lot more. Getting started on Wickr Pro is free and easy. In fact, you can set up your own private and secure network in minutes.
Get Wickr Pro:
For mobile devices, Wickr Pro is available on both the Apple App Store and the Google Play Store. For Mac OS/X, Microsoft Windows, or Linux you can download and install the Wickr Pro here: https://pro-download.wickr.com/.
Create or Join a Network:
When opening Wickr Pro for the first time, you’ll see a screen like this:
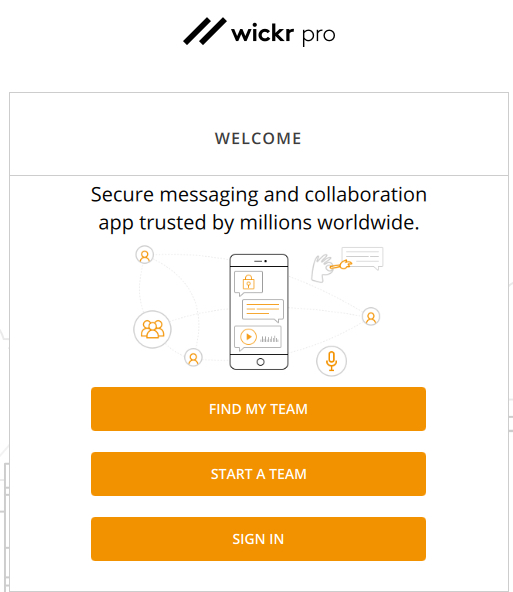
Select one of the following options:
- Find My Team allows you to join your existing team or organization that has already set up a Wickr Pro Network. If they have, you can choose this option and register your email to join their network.
- Start a Team allows you to create a brand new Wickr Pro Network. Once you have set up your network, you can invite others on your team or within your organization to join.
- Sign In is for users that have already created an account and just need to sign in to a new device. You’ll also use this option if you have received an invitation email to activate your Wickr Pro client by an administrator of your Team’s network.
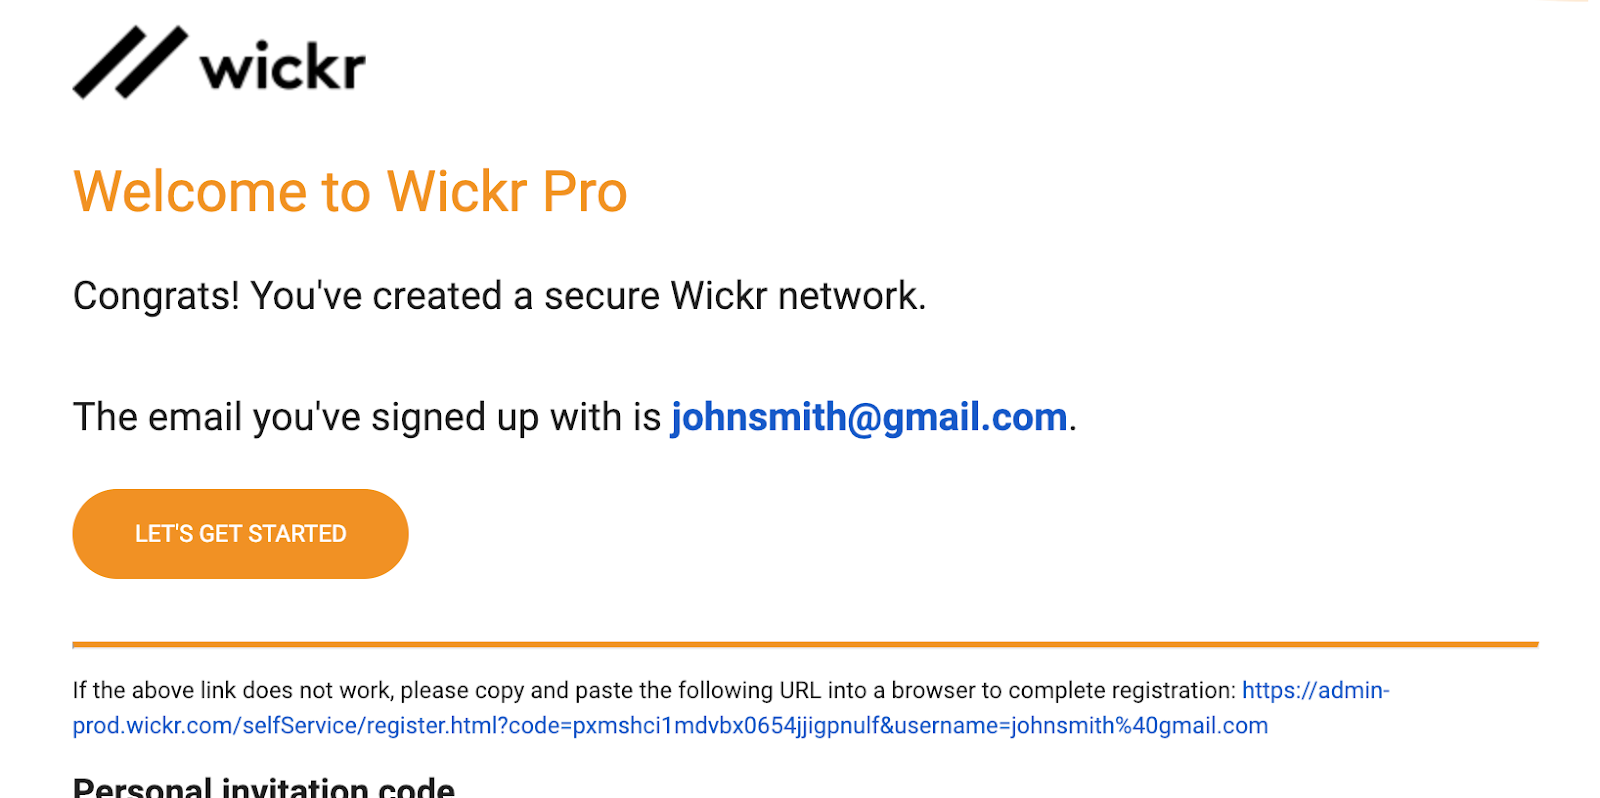
Verify Your Account
Once you create your account, you will receive an email to verify your account. Simply click the “Let’s Get Started” button to verify your email address.
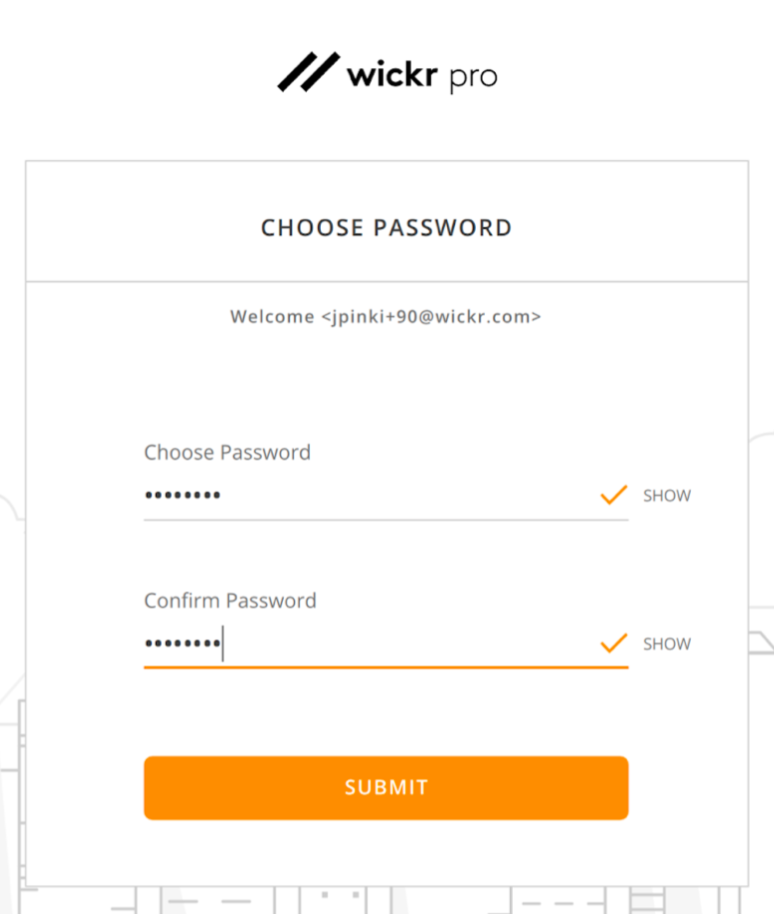
Create & Confirm Your Password
After verifying your email, you will be asked to set a password for your account. Simply follow the prompts to do so.
Activation Completed
That’s it! You are now able to communicate and collaborate with everyone in your network and millions of other Wickr users around the globe. Now that you have created or joined your Wickr Pro Network, learn how to take advantage of all that Wickr Pro has to offer.
